Backup Notifications (BaaS)
Note
Create a notification template
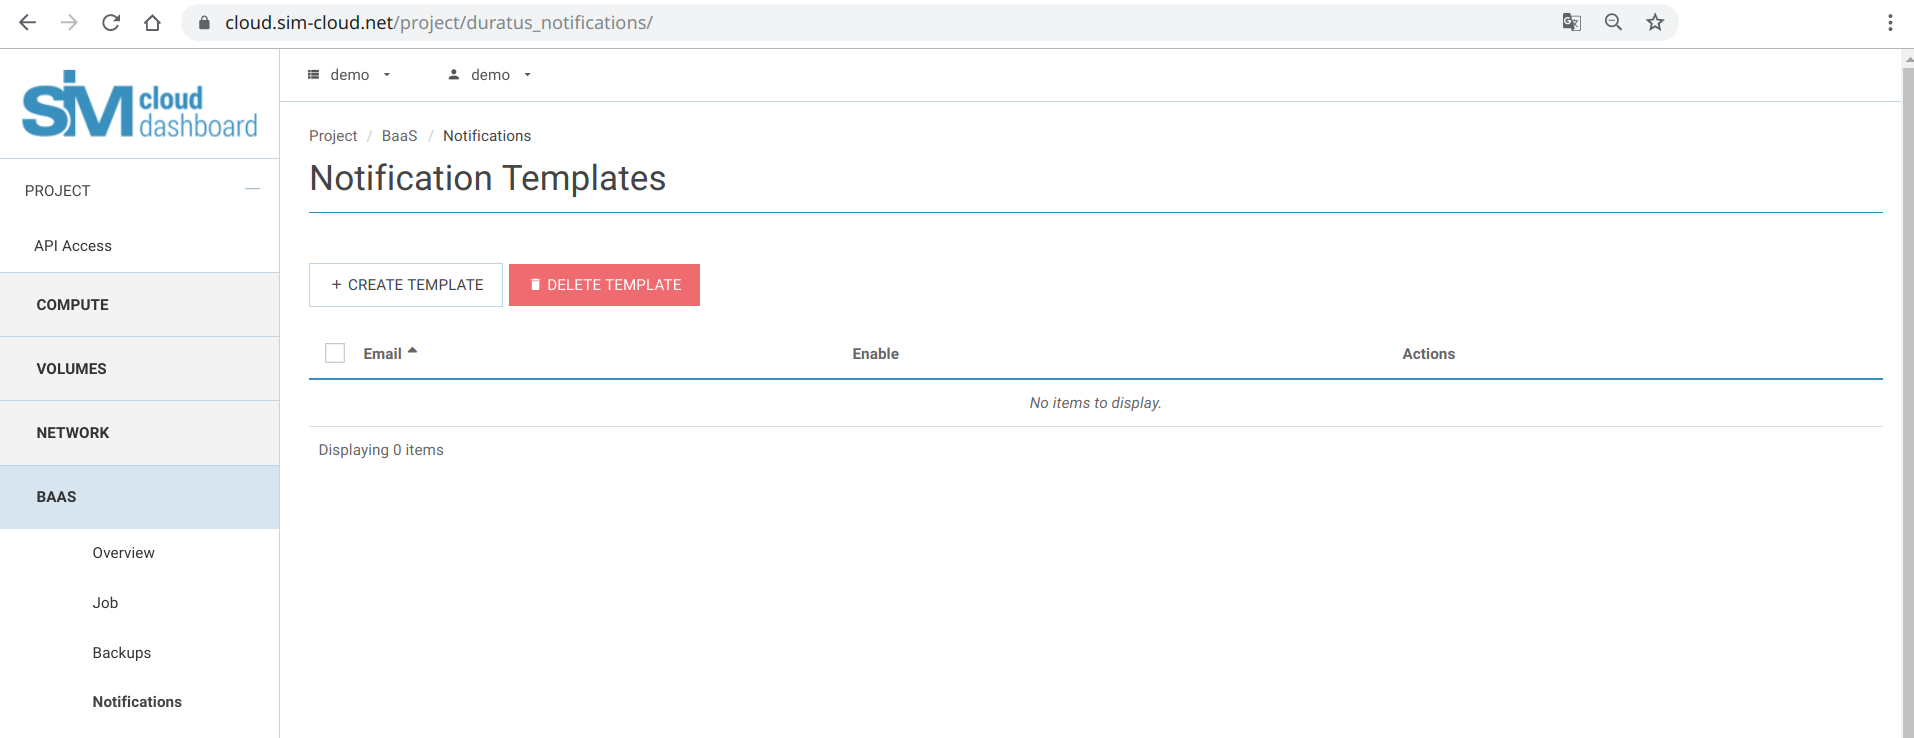
To create a template, you need to go to the page manage notifications, click on the “CREATE TEMPLATE” button and fill in three forms in the window that appears.
General
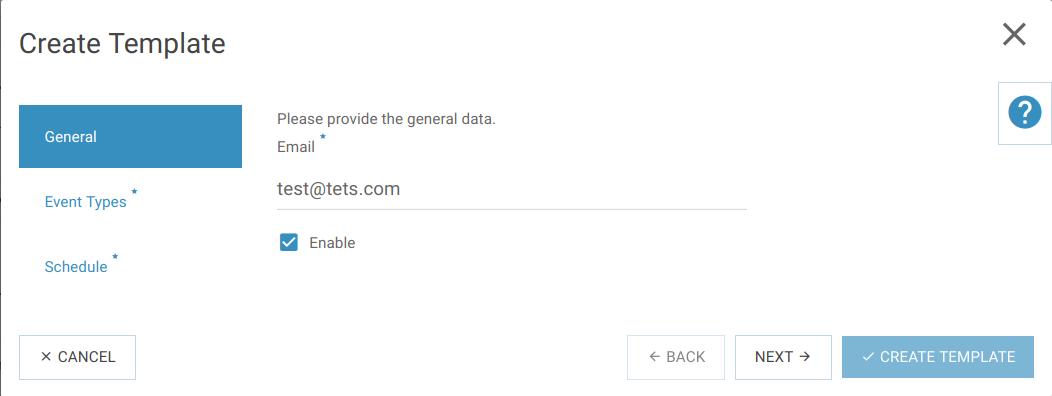
Indicate the address to which you want to send notifications about the selected events. You can also enable or disable the selected template here. The General dialog box contains the following fields:
mailing address |
|
Enable |
enable rule (default is disabled) |
Important
To activate the template, be sure to enable the “Enable” option (enable rule).
If this option is disabled, the template will be inactive, and the configured notifications will not be sent to the specified email.
Event Types
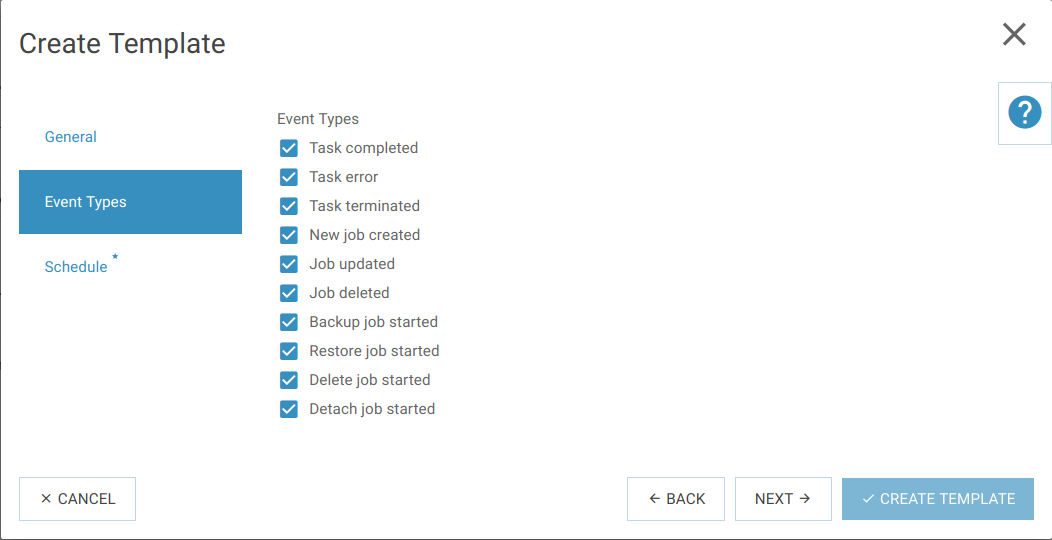
Select the types of events for which notifications will be sent to email. In this window, you must select at least one type of events. The Event Types dialog box contains the following fields:
Task completed |
Task error |
Task terminated |
New job created |
Job updated |
Job deleted |
Backup job started |
Restore job started |
Delete job started |
Detach job started |
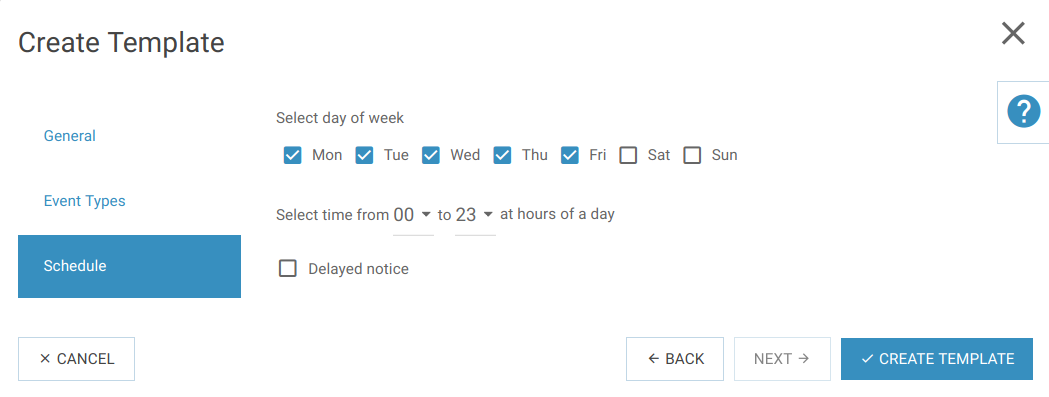
Schedule (Scheduler)
Indicate the time range for which notifications will be sent. If necessary, enable the delayed sending function. In this window, you must select at least one day of the week. The Schedule dialog box contains the following fields:
Select day of week |
Day of week |
Select time |
time range |
Delayed notice |
enable delayed send function |
After the template is created and is in the enabled state, the user notifications will be received according to the settings made.
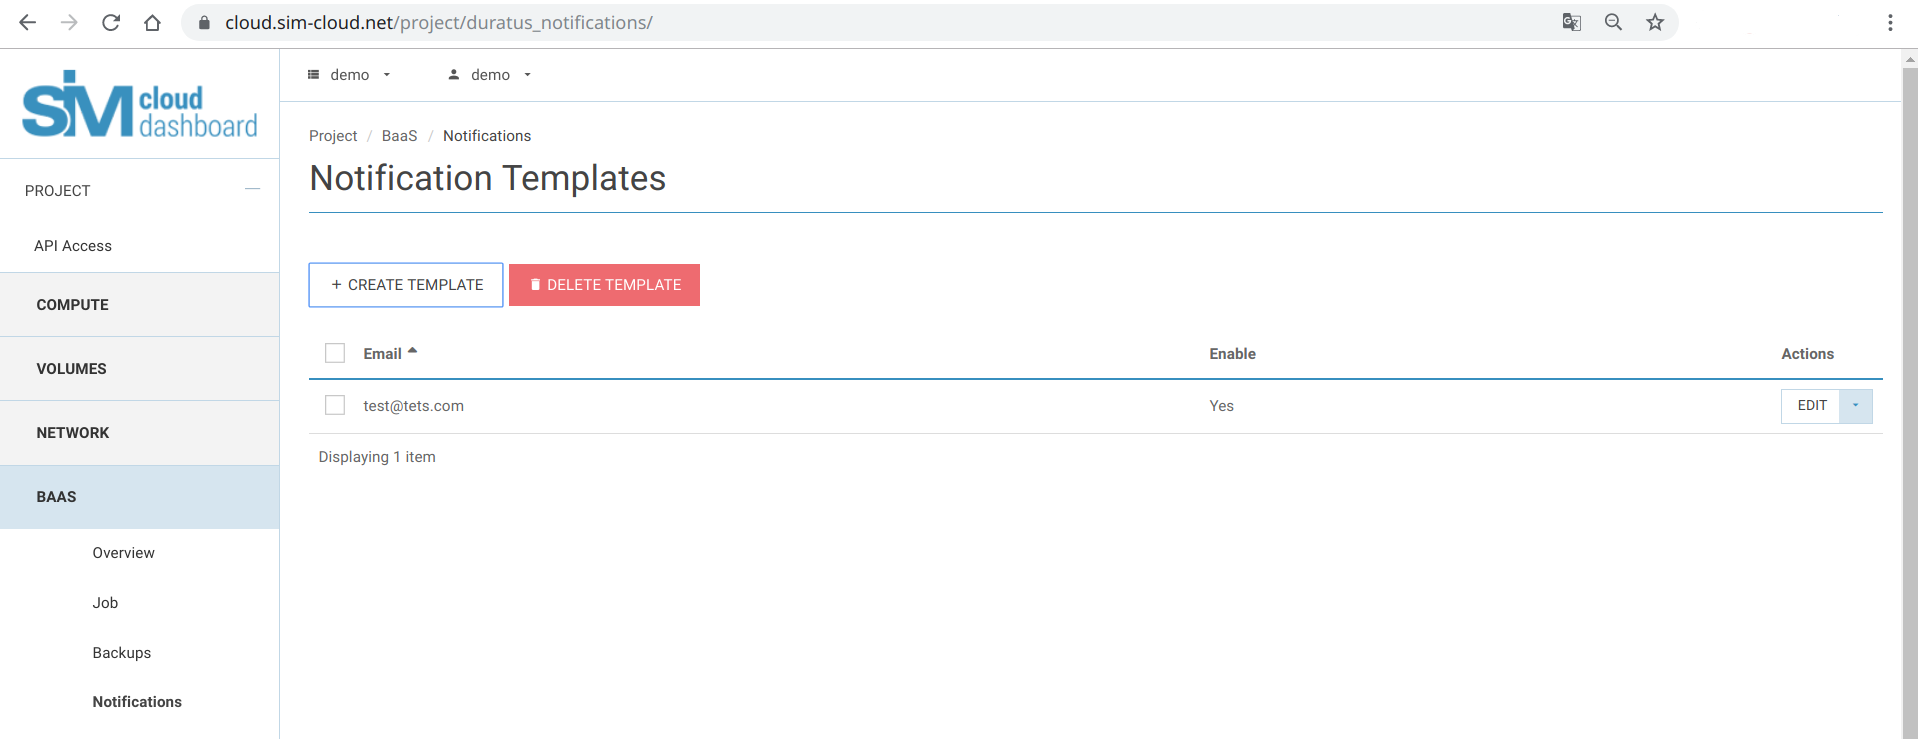
Notifications to the address specified in the template will be sent from the email: “noreply@sim-cloud.net”. Please note that you do not need to respond to notifications.
Editing a notification template
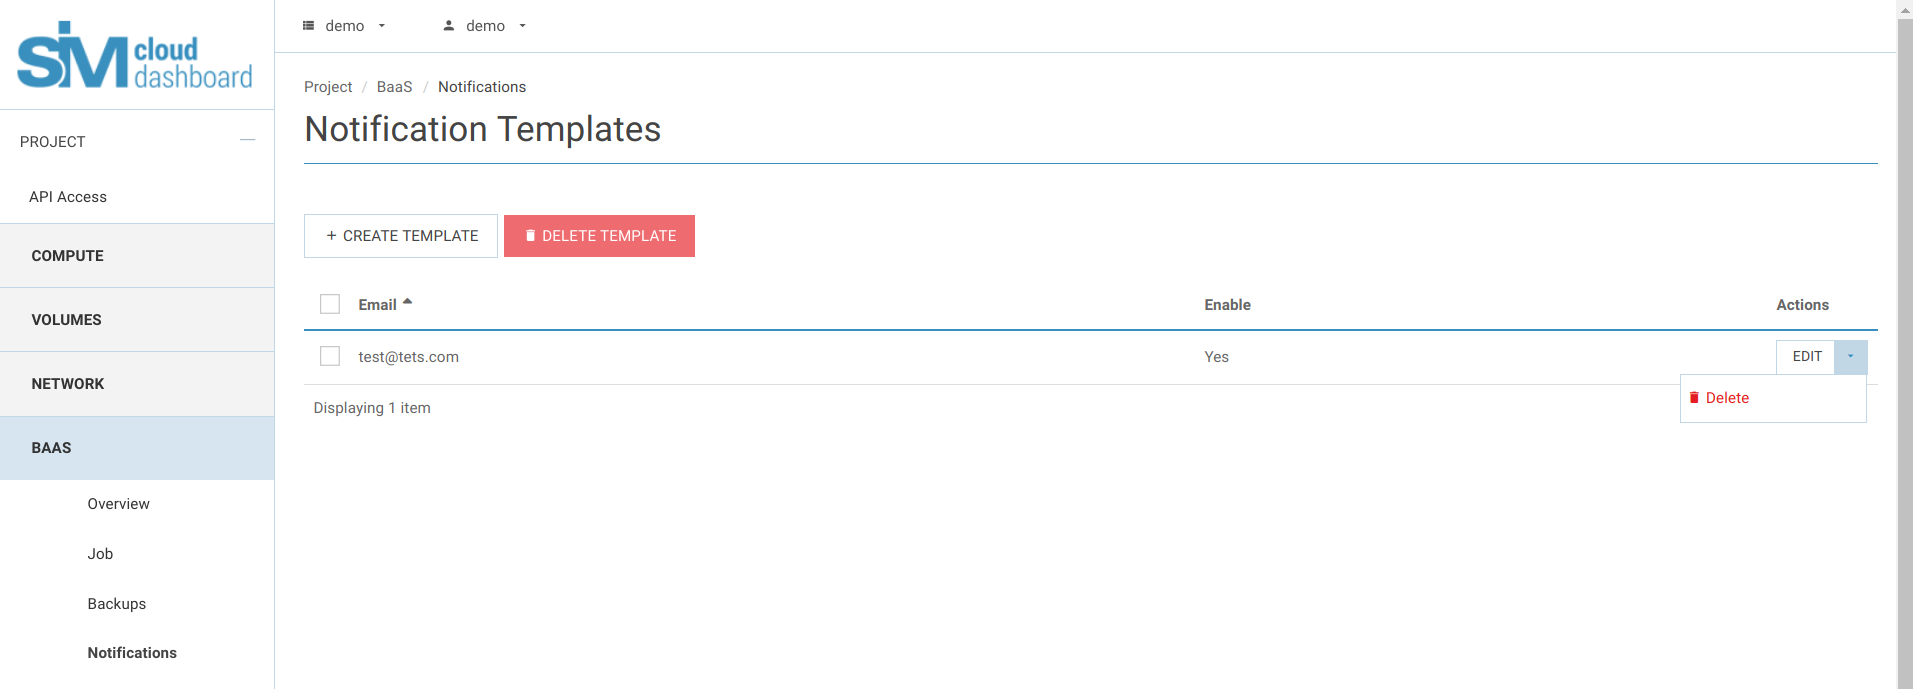
Deleting a notification template
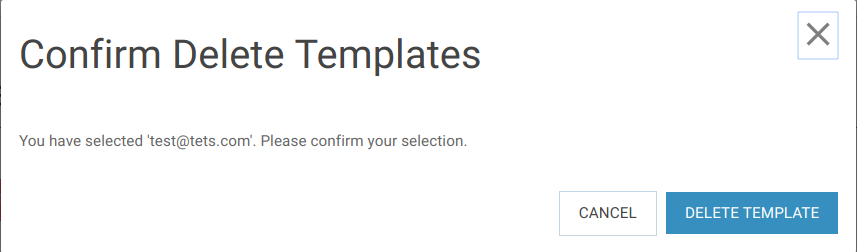
To delete a template, go to the page manage notifications, mark the desired template by checking the box to the left of it. Then press, become active, the delete button “DELETE TEMPLATE”. Next, you need to confirm deletion of the template.